My trusty Das Keyboard was certainly overdue for a cleaning. With the cats regularly being right next to the keyboard, it had accumulated quite a bit of cat hair! Cleaning this keyboard is a little tricky because there are no labels on top of the keycaps. I originally purchased this keyboard in 2011 and it has served me well as the main keyboard for my desktop computer.
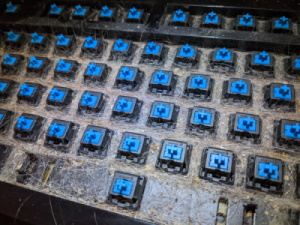 As you can see, there is a LOT of cat hair in there. Yikes!
I’m a a big fan of full-size keyboards, having both a function key row and full numpad which I use regularly. For gaming, I use a smaller Leopold 65% layout, so that I have a little extra space for moving my mouse around.
I’ve cleaned my Das Keyboard several times in the past, so I had remembered that there are different heights for each row of keys, but I couldn’t remember the details. I googled it and came across this post which helped refresh my memory, in particular the guide Benjamin J DeLong put together.
First I began by using my keycap puller to remove all the keys. Be careful with the keys that have a stabilizer, or you may break the plastic holding the stabilizer bar in place.
 You can find a variety of these online. This particular one is from Das Keyboard.
I purchased a set of dishwasher safe bags and put the keycaps through the dishwasher to clean them, being sure to turn off the heated dry function. I also removed all the stabilizer bars.
Then I used my handy Mtro DataVac to blow off as much the hair as I could.
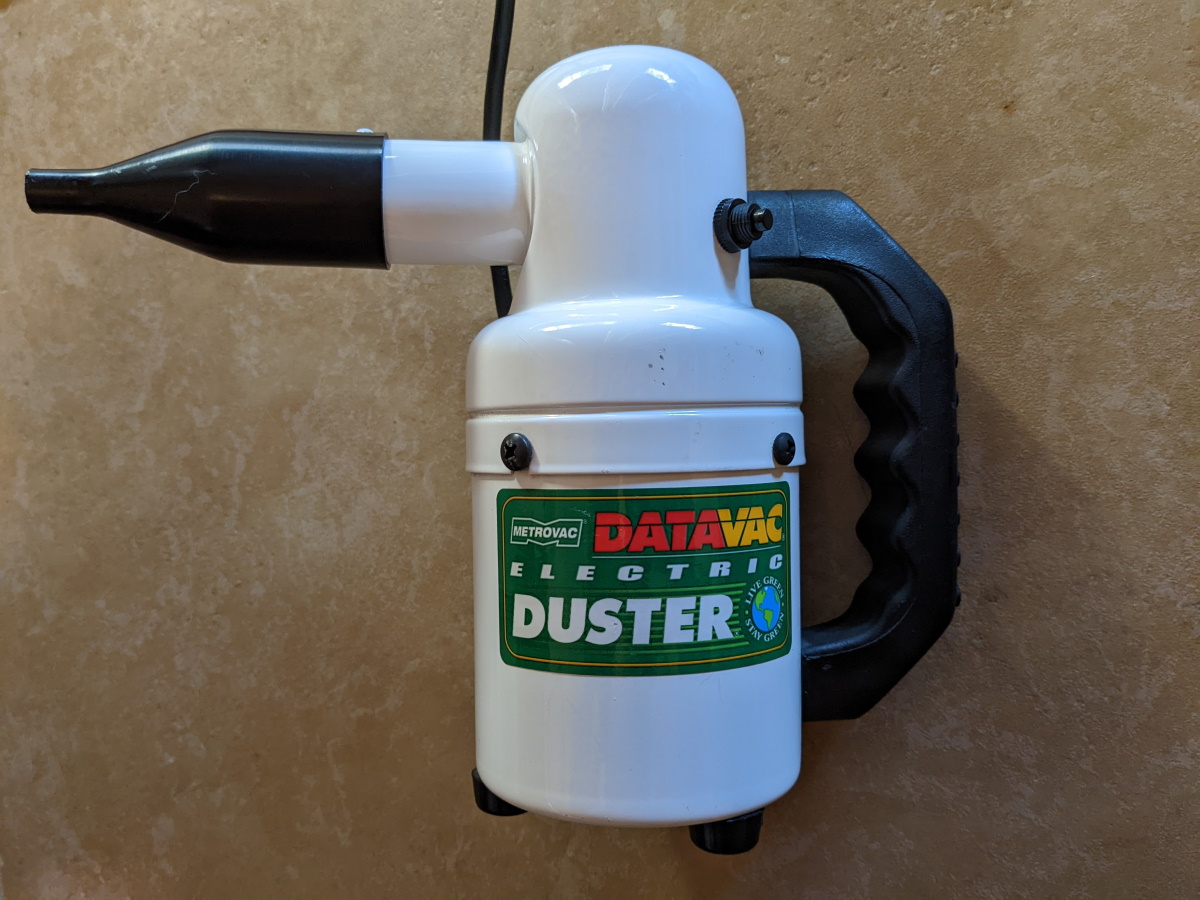 I purchased this in 2015 and haven't used one of those canned air dusters since, it has proven to be extremely useful for dusting out computers!
I then used gaffer tape and a ruler to pull out the remaining hair that was caught between the switches.
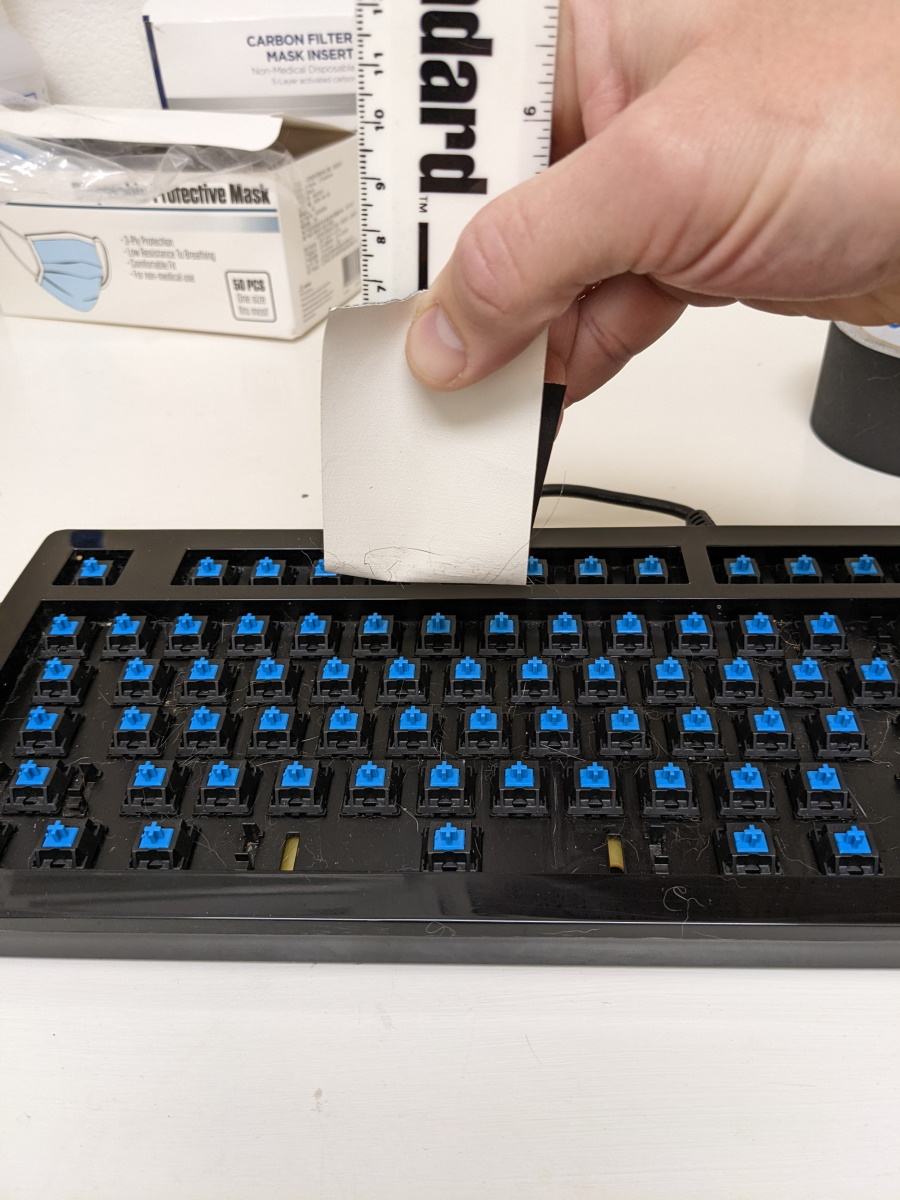 This was pretty tedious, the hair was very stubborn.
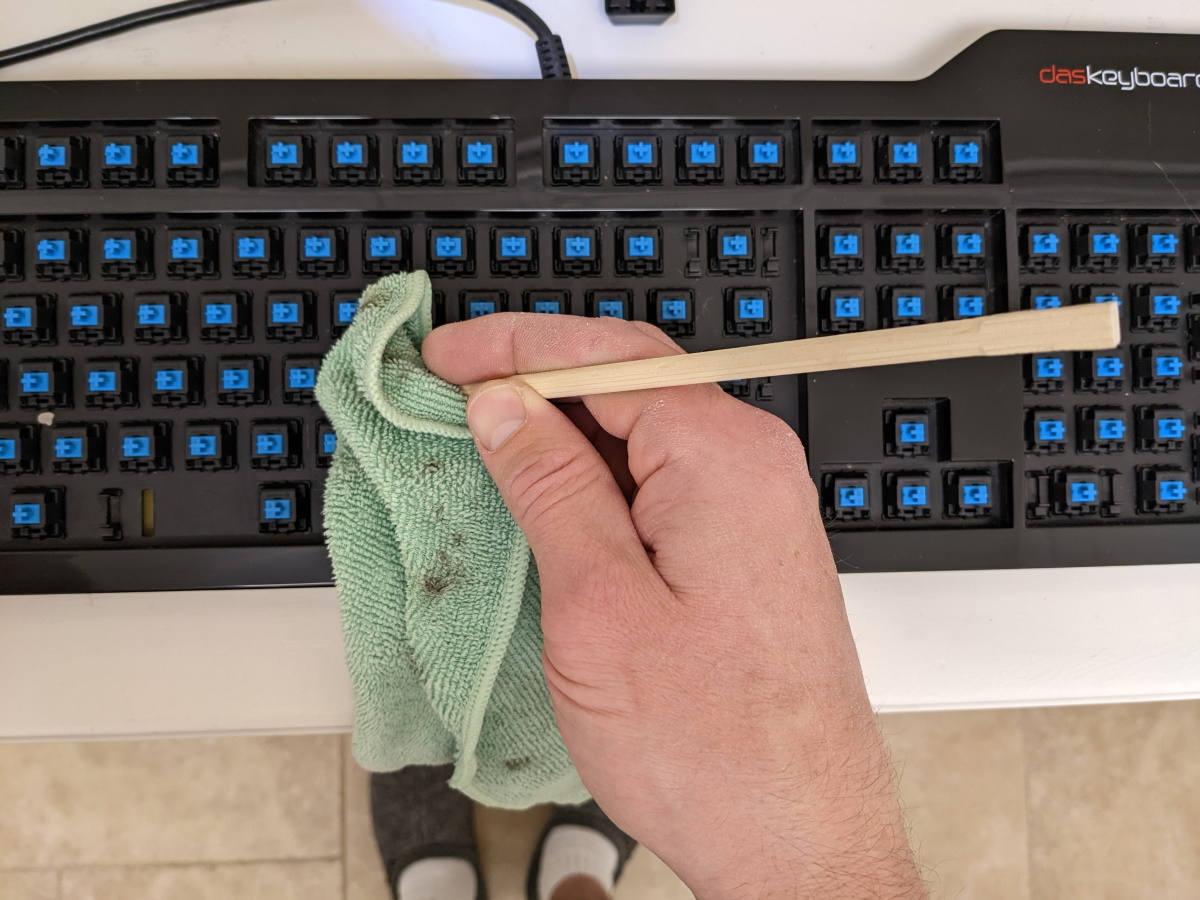
I also used a take-out chopstick and a slightly damp microfiber cloth to clean between the switches.
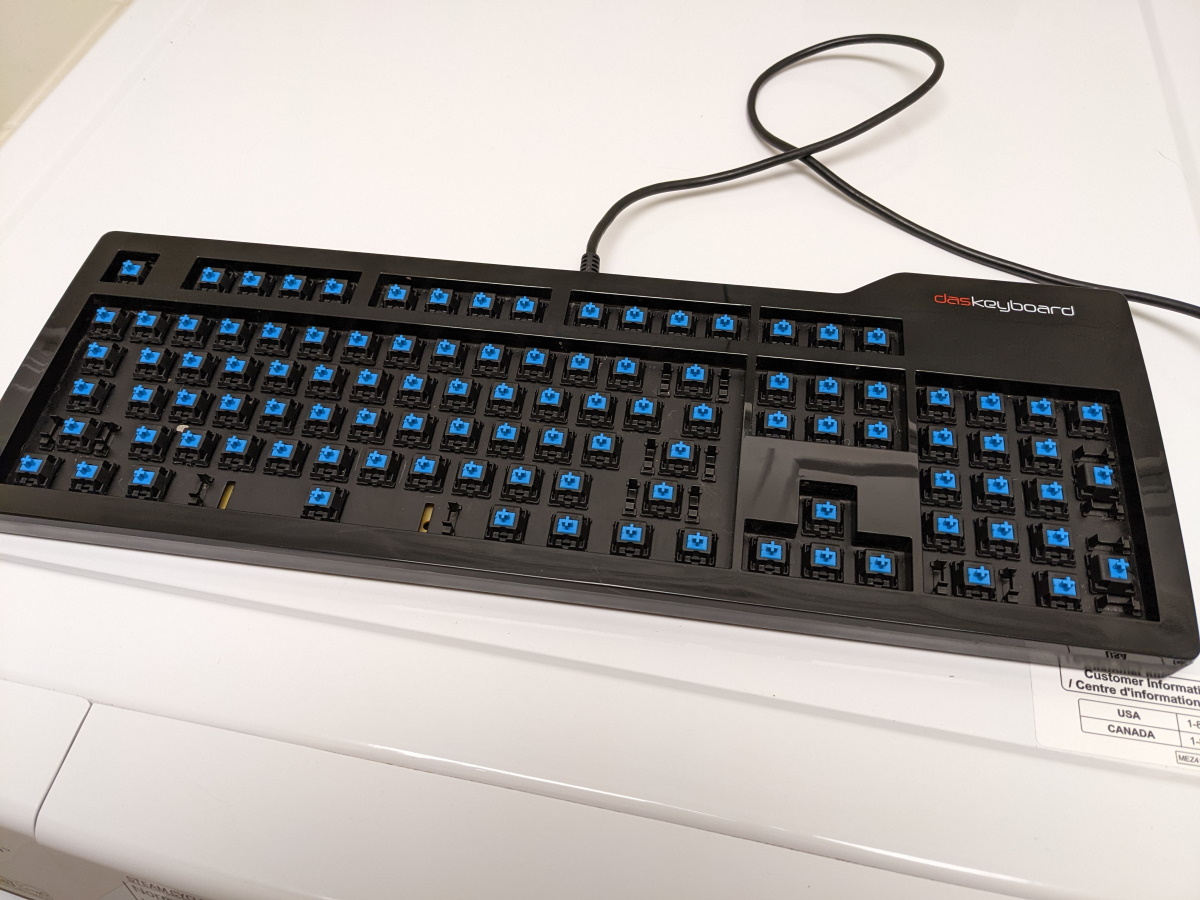
After a bit of elbow grease, it was all clean and looking much better!
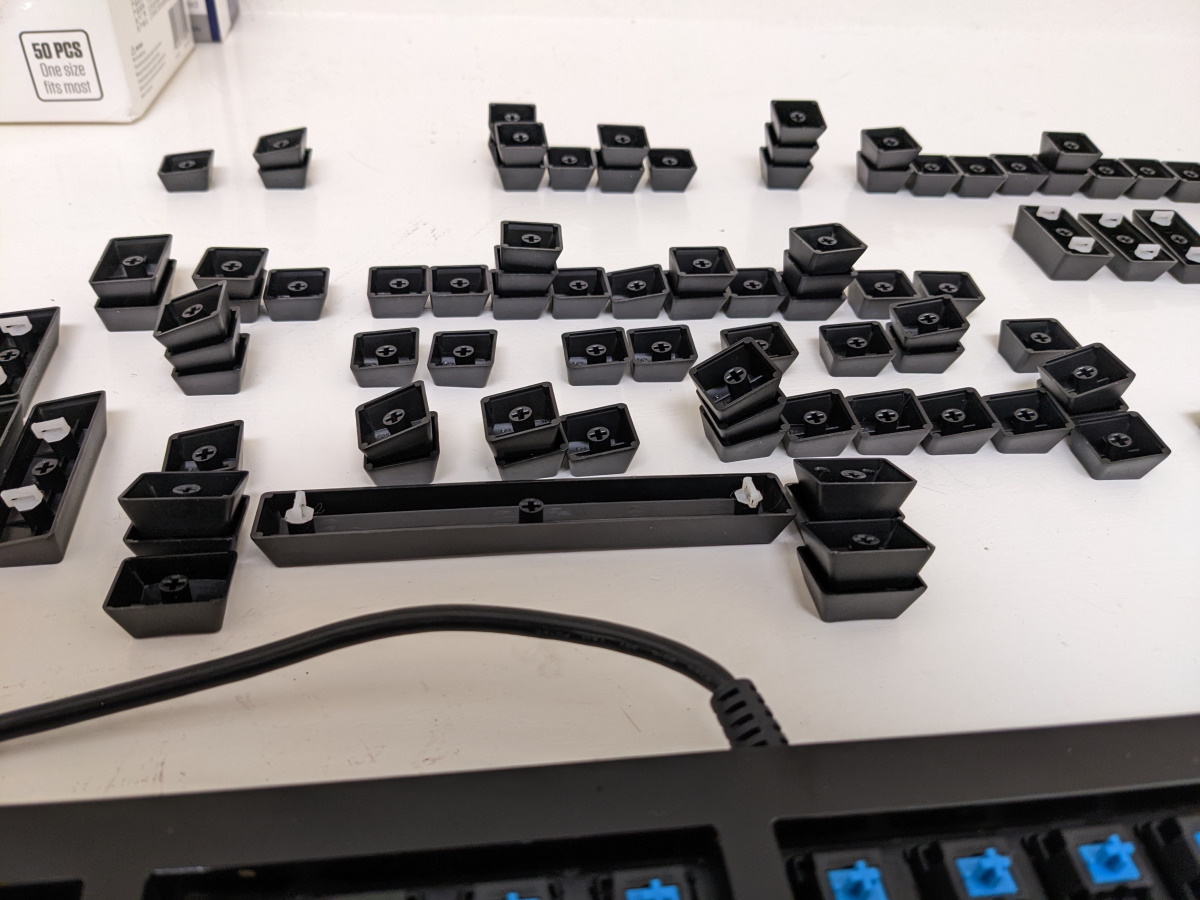
Next up was to figure out how to reassmble this thing. The keys are labeled with a row number and position number. Some keys don’t have a row number, and just have a position number listed.
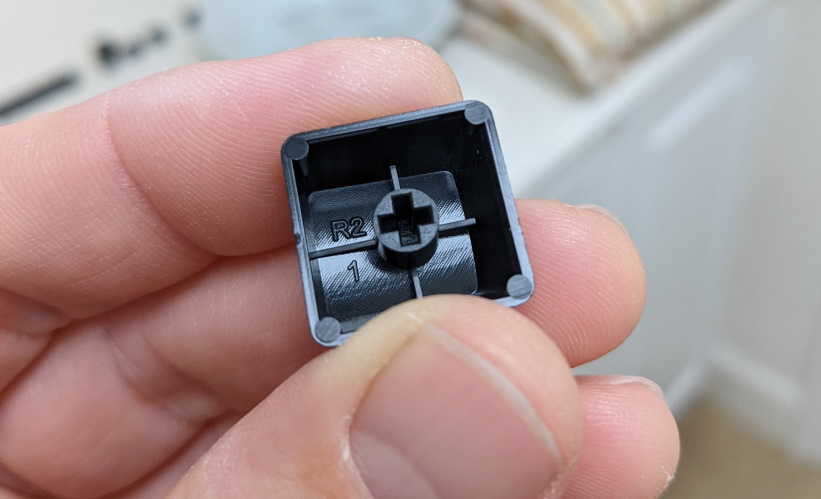
I organized them based on row number and position number. I found that there were quite a few missing and duplicate position numbers. This must not matter so much. I kept them in order and stacked the duplicates on top of each other anyways.
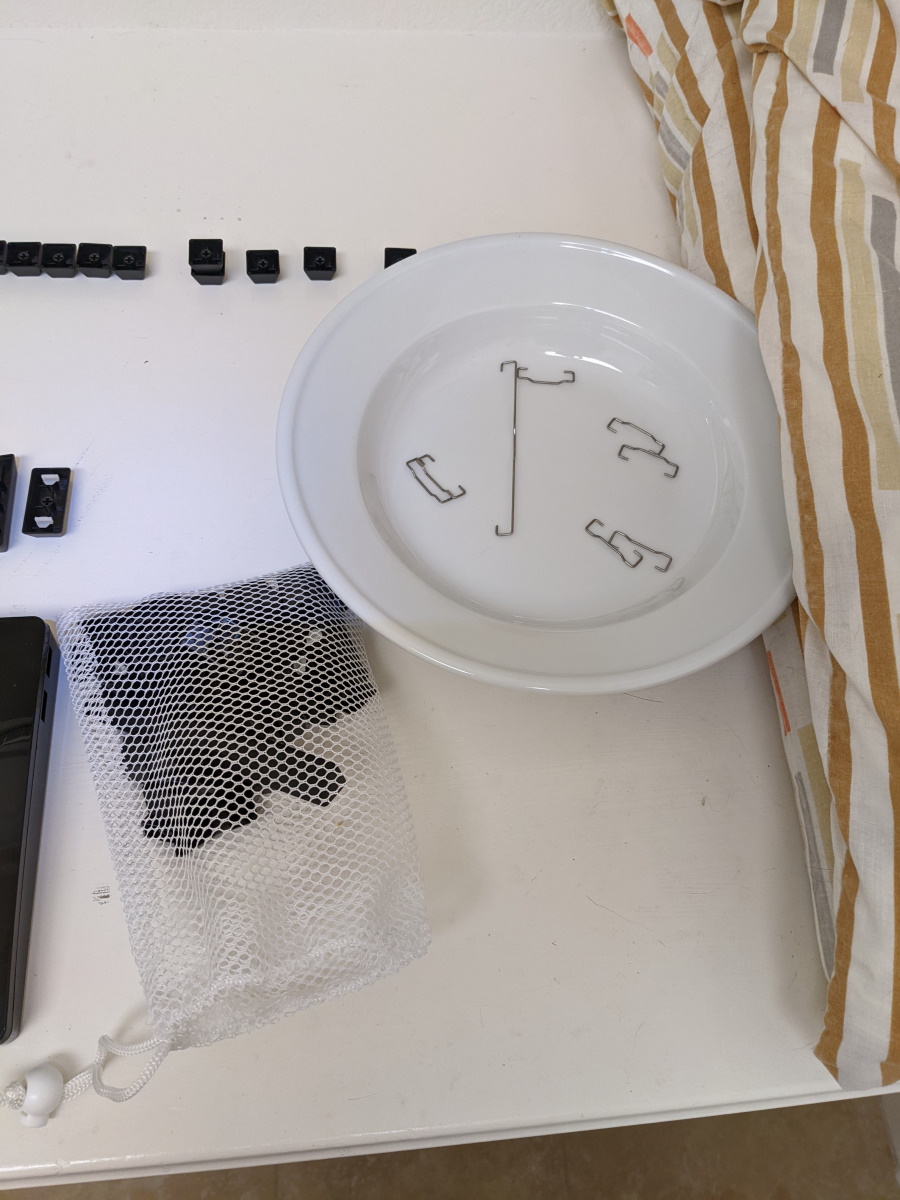
Next up, I put the stabilizer bars back in. There’s only two sizes of these, the big one for the space bar and the smaller ones for everywhere else.
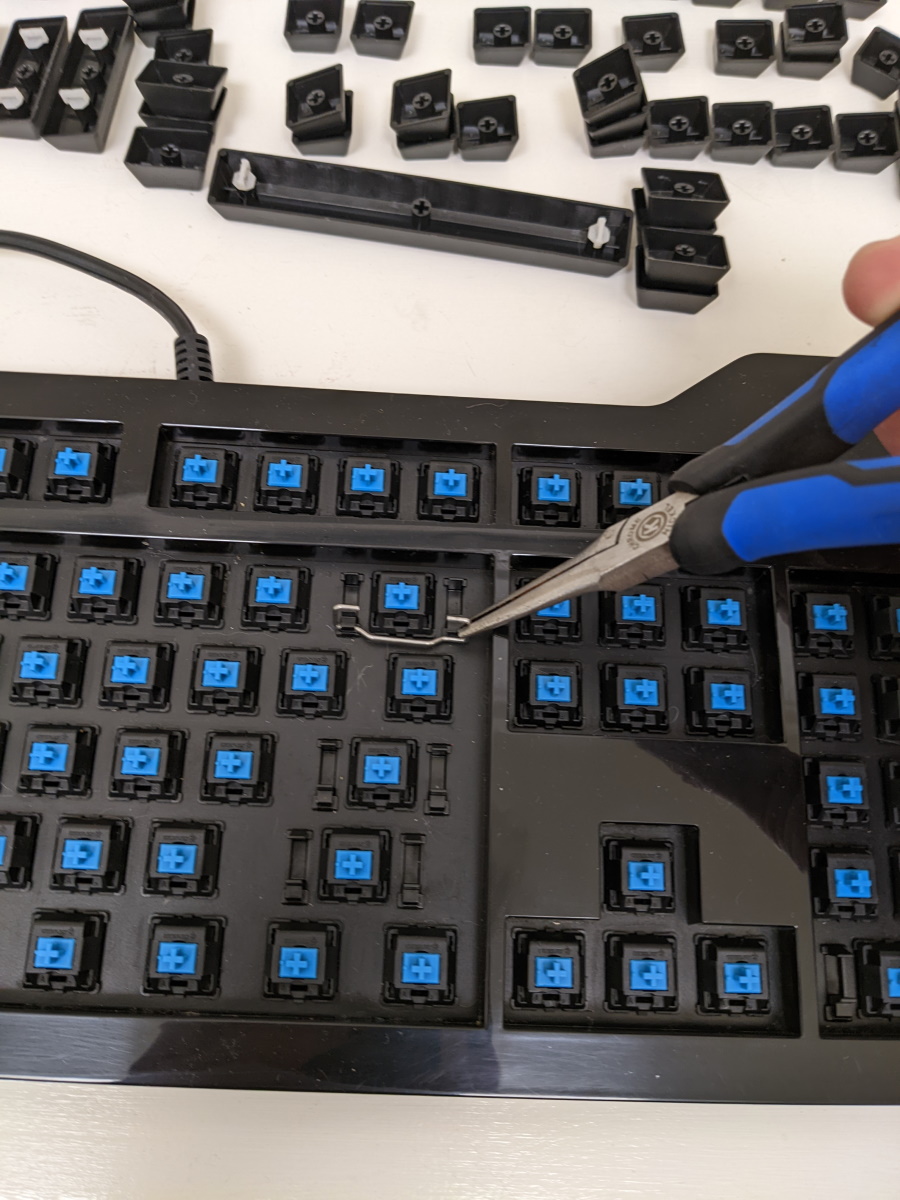 Careful here! It would be a bummer to break the small plastic clips that hold the stabilizer bars.
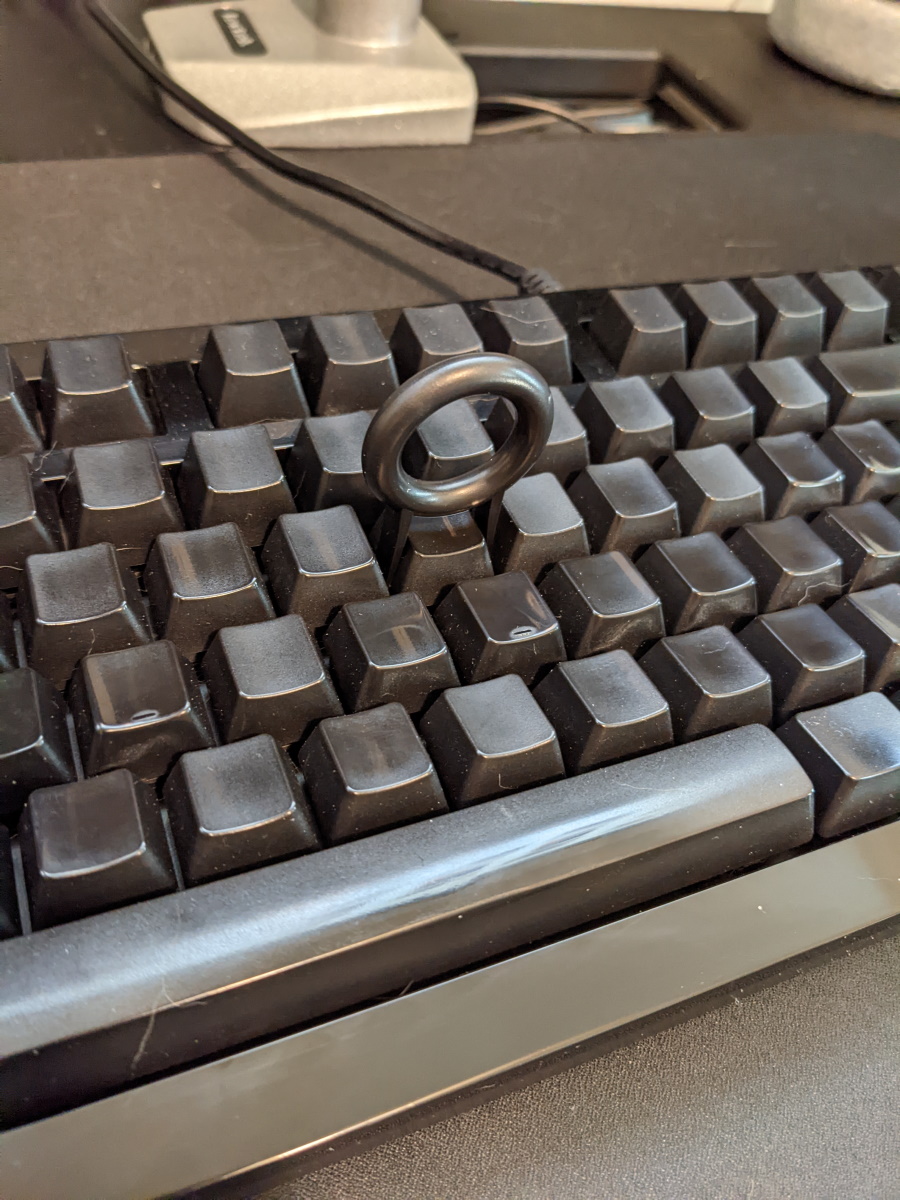
The inserts that the stabilizer bars go into on the keycaps have to be oriented a certain direction, they are not symmetrical.
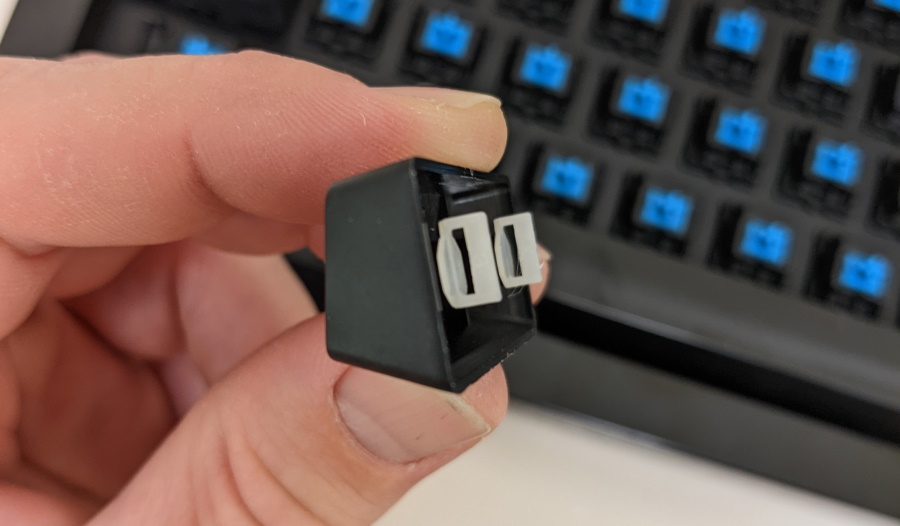
The keys with the stabilizer bars are a little tricky to put back in. With the stabilizer clipped into the keyboard, point it straight up and loop one side of the key inserts and then the other, then press the key onto the switch.
 Making some progress. Takes a little fiddling to get the stabilizer bar keys back on.
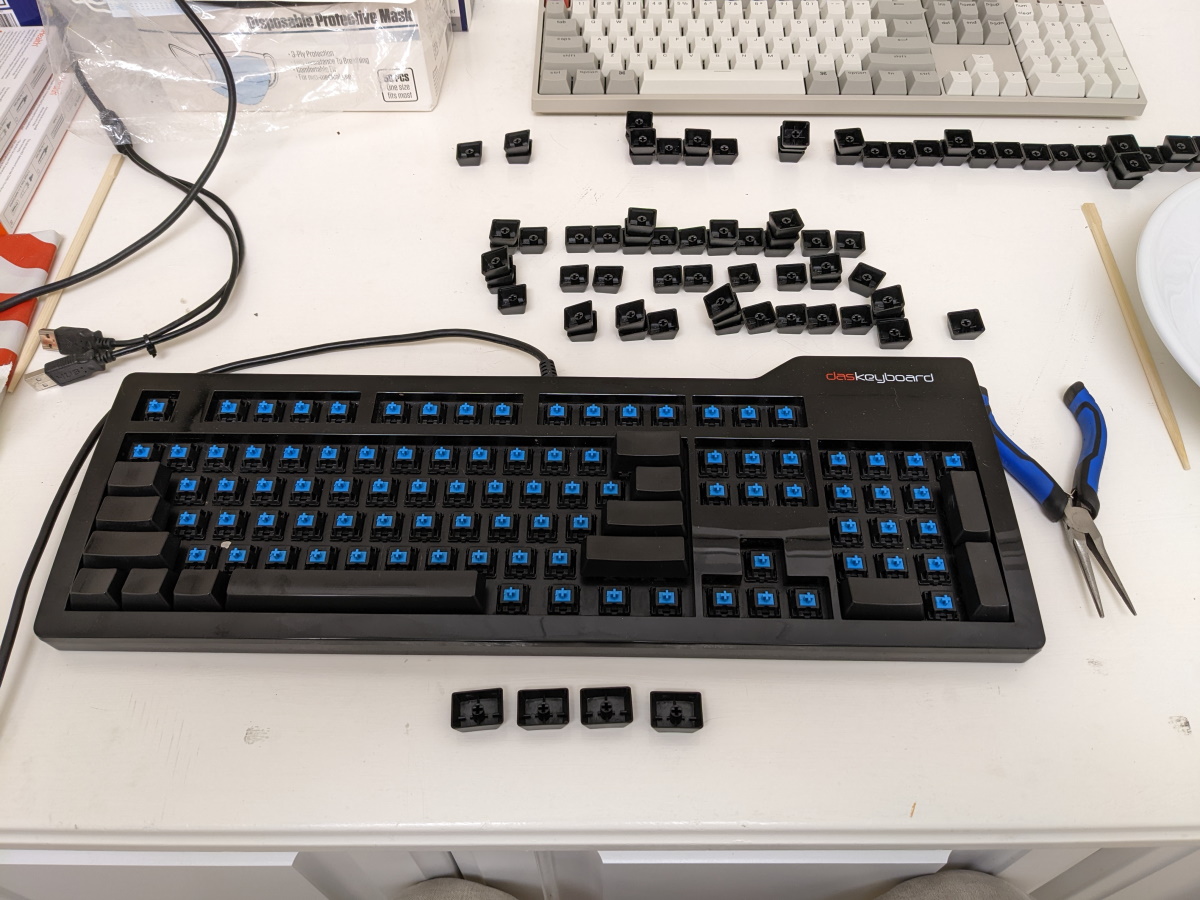
Using the row guide I linked earlier, I placed the R1, R2, and R3 keys in the right spot, using the position numbers increasing from left to right (even though the position numbers don’t really matter). The F and J keys have a small horizontal line on the top of the keycaps for your index fingers to feel. I’m pretty sure all keyboards have this, so you can tell that your hands are in the right position by feel. The numpad 5 key also has a small dot in the center of it, for the same reason.
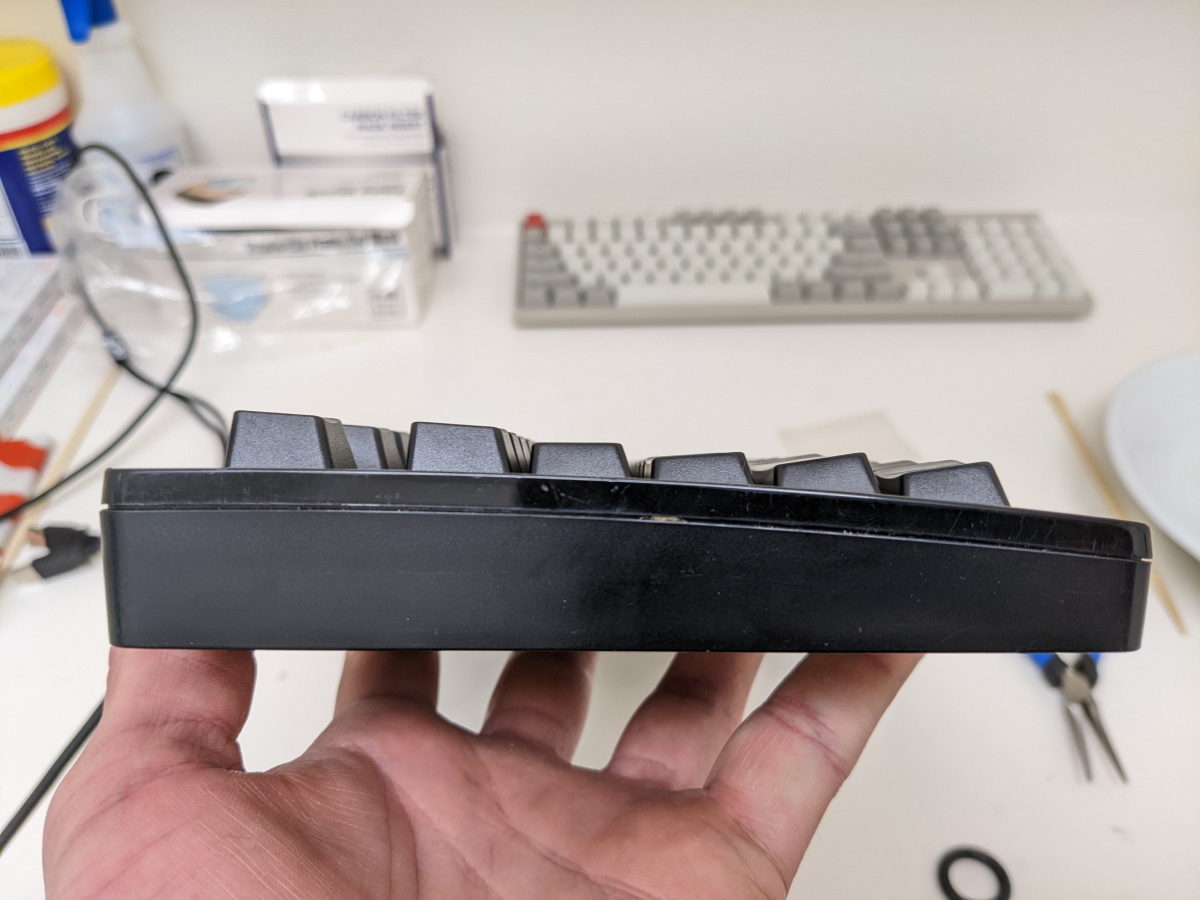 We can see the different row heights from the side profile view. Row position is important!
It was very tedious putting it back together, but eventually all the keys were back into place.
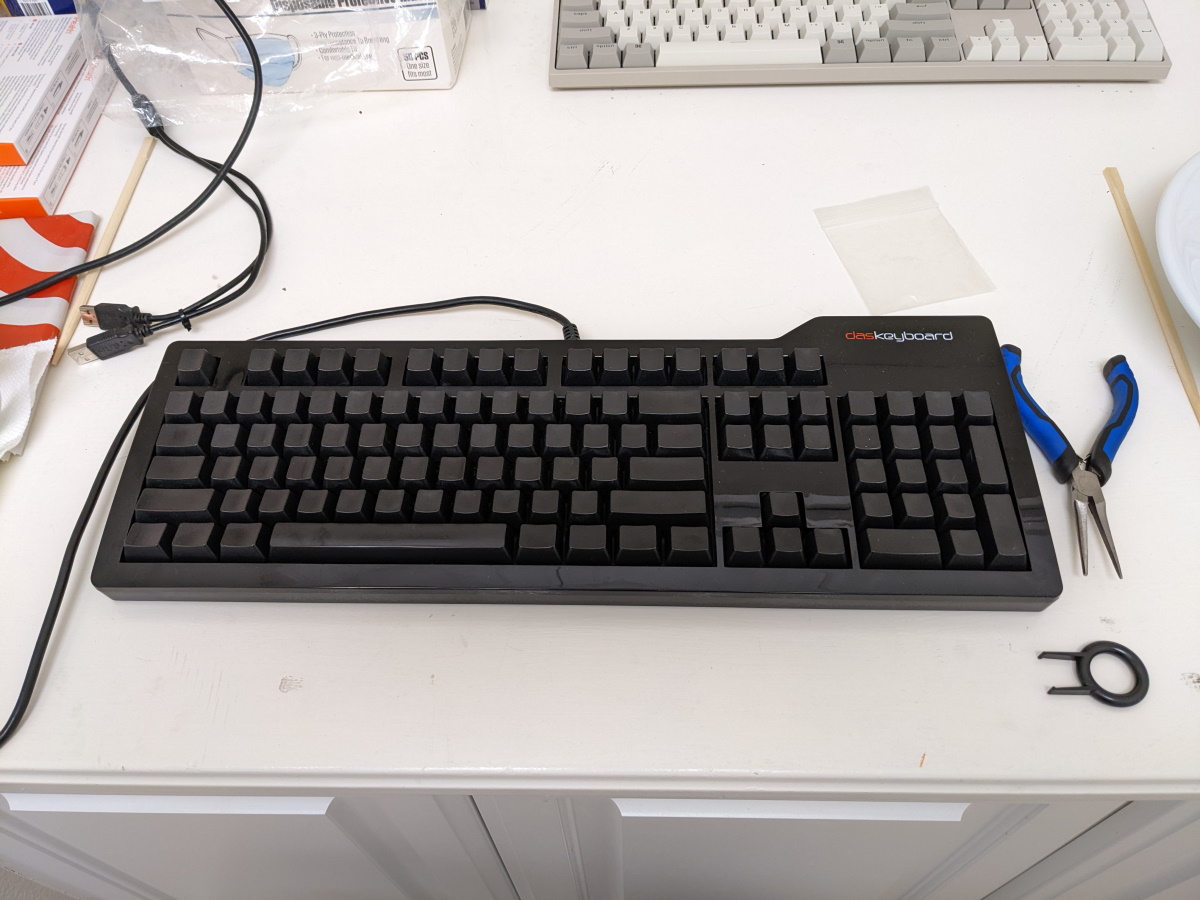 Ahhh, much better!
Hopefully I don’t wait so long before the next cleaning!