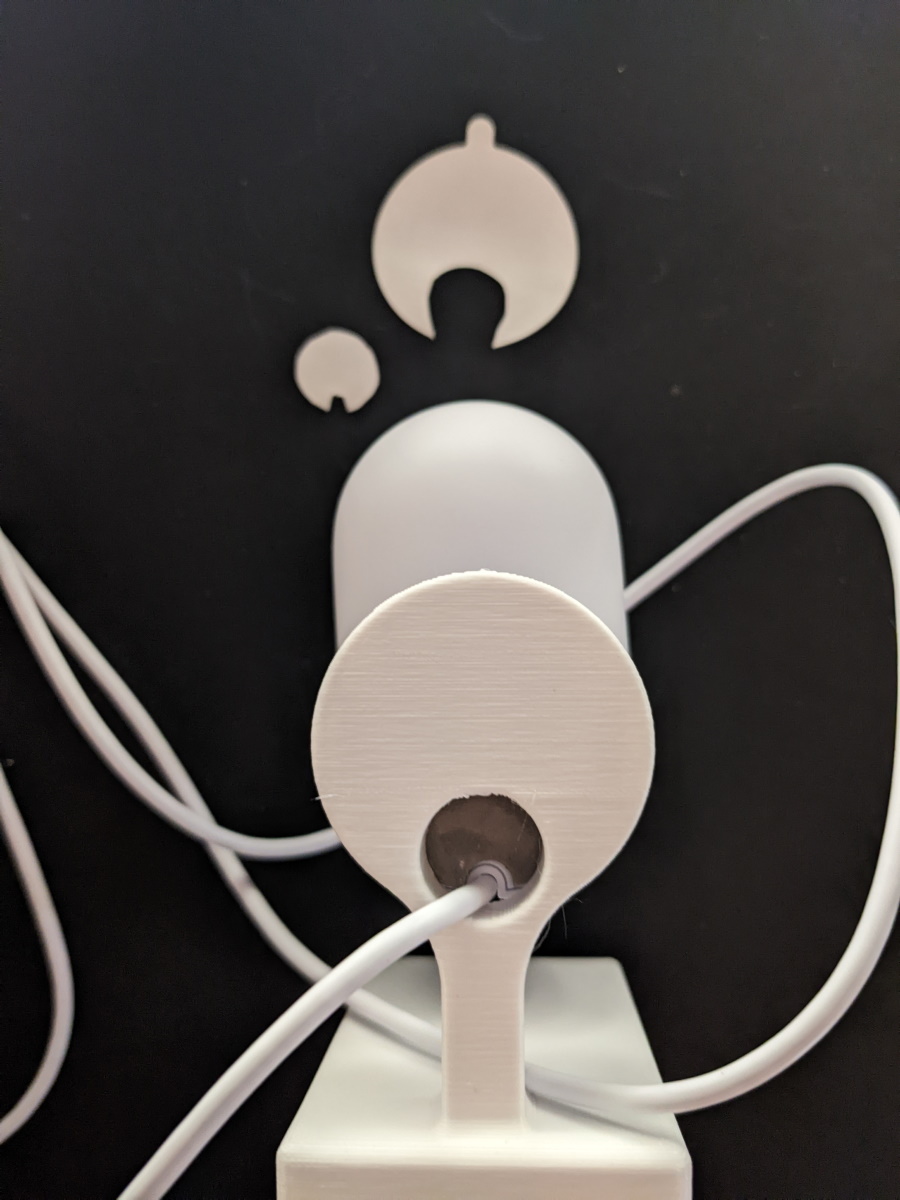
I recently got some Unifi cameras to replace my long discontinued Amazon Cloud Cams. The standard mounting options for the Unifi cameras fell short of what I needed in a few places. I’ve always been curious about 3D printing and this seemed like a good opportunity to learn more about it and also solve my camera mounting issues.
Unifi G4 Pro Angle Shim
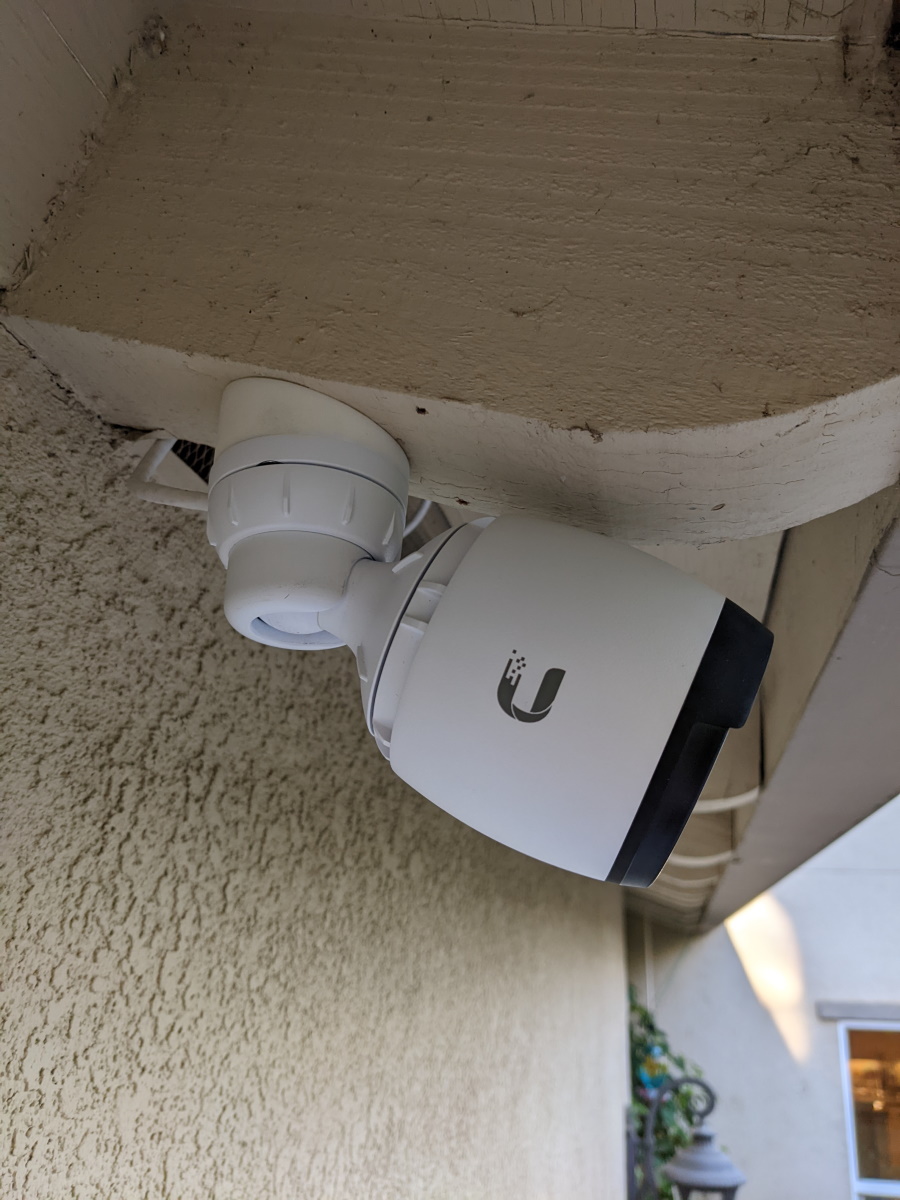
The first camera I installed was the Unifi Protect G4 Pro. This camera is mounted outside, and I couldn’t quite get the angle I needed because of the slanted eve it was affixed to.
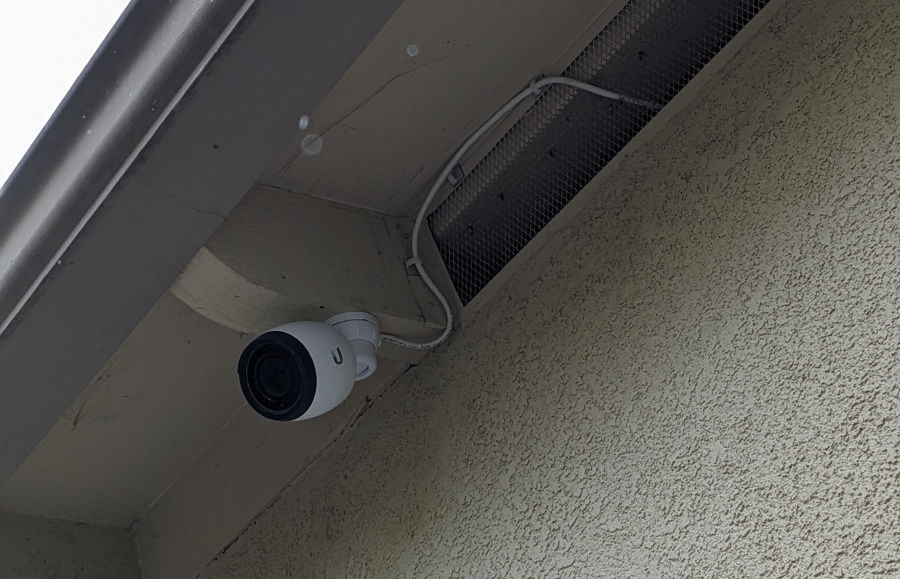 So close, but not quite the angle I needed.
I decided I needed some sort of shim to adjust the angle. I could probably get away with finding a piece of scrap wood to do the job, where’s the fun in that? A 3D printed part would hold up better outside and also match the aesthetics of the camera.
I downloaded Autodesk Fusion 360 because I saw they had a free version for personal use. I had used Solidworks in school but the Solidworks Makers edition costs $99, so I figured I should give the free option a shot first. It had been so long since I had last used Solidworks anyways, I figured the amount of time for me to get reacquainted with 3D modeling software would be about the same either way.
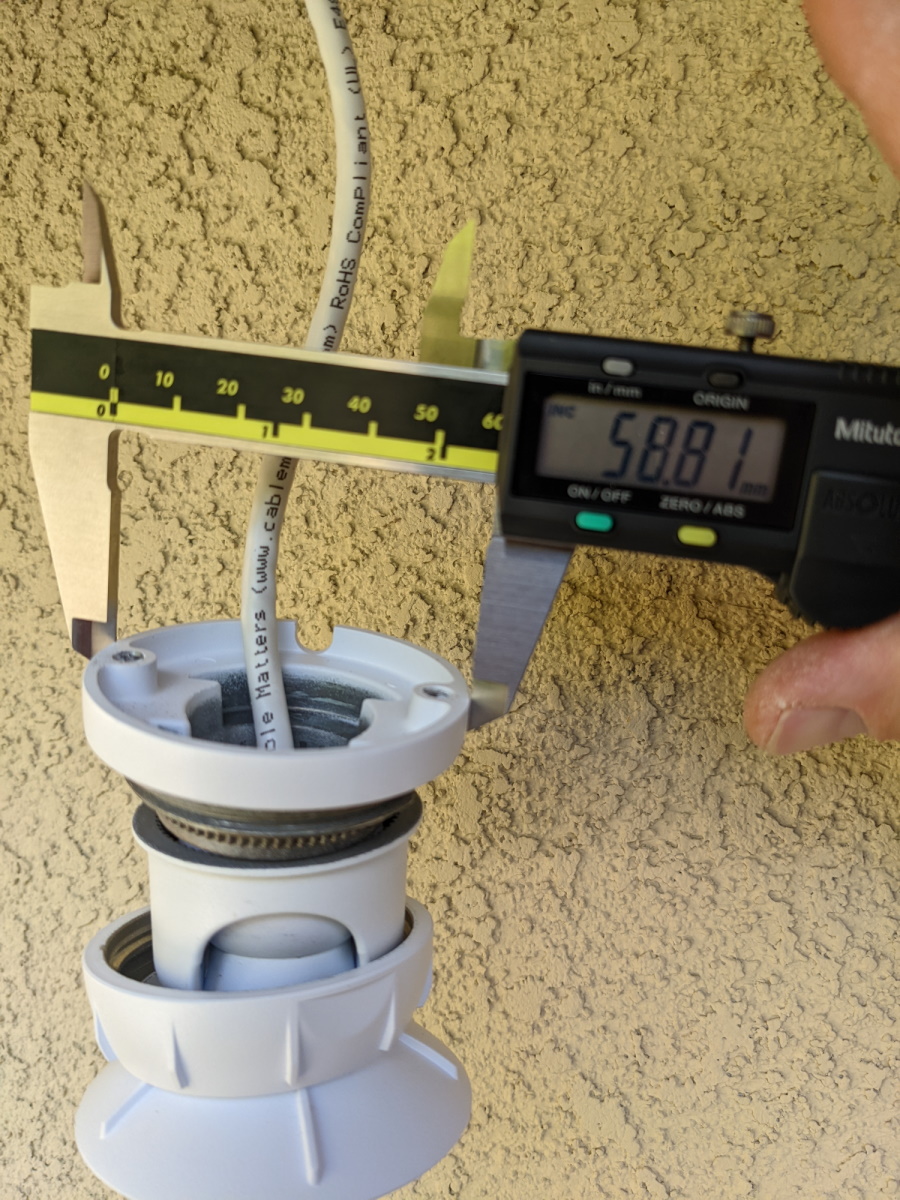
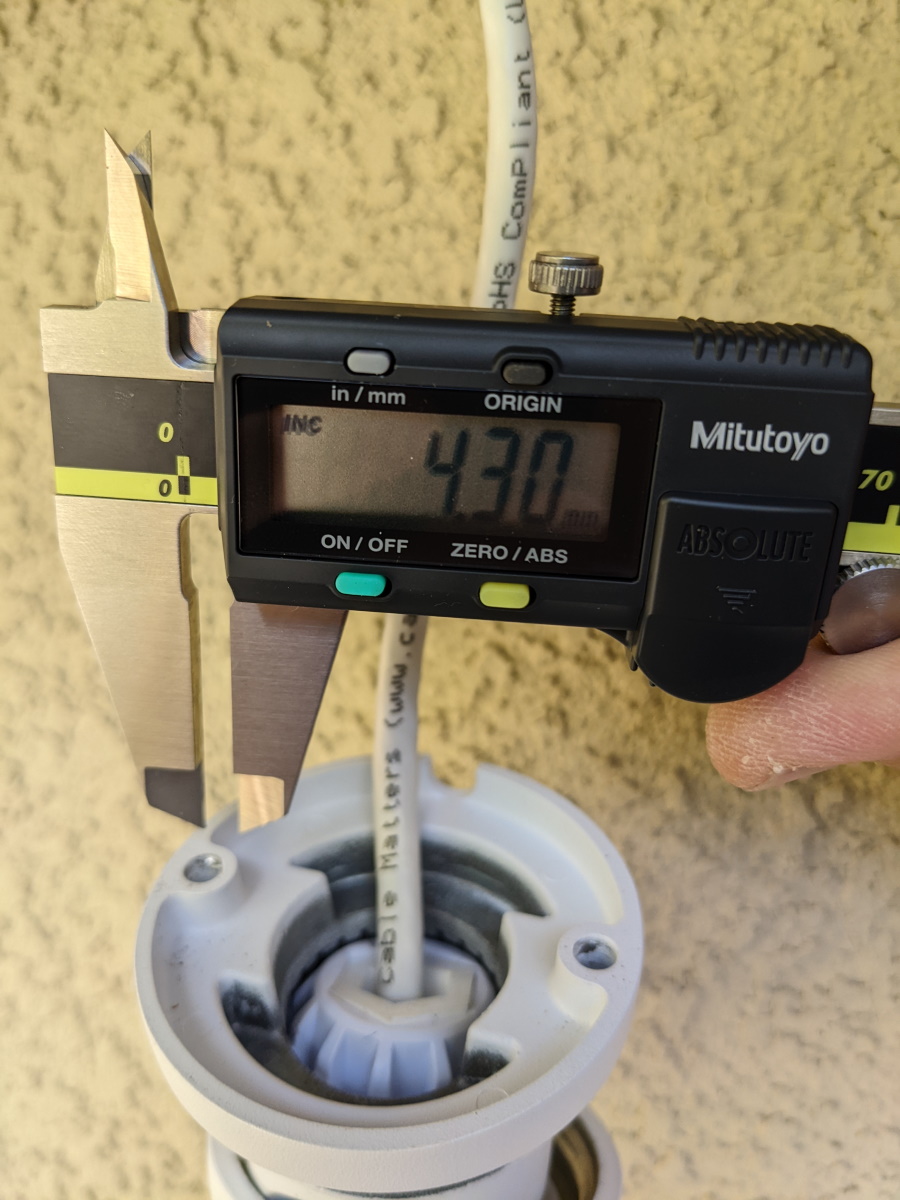
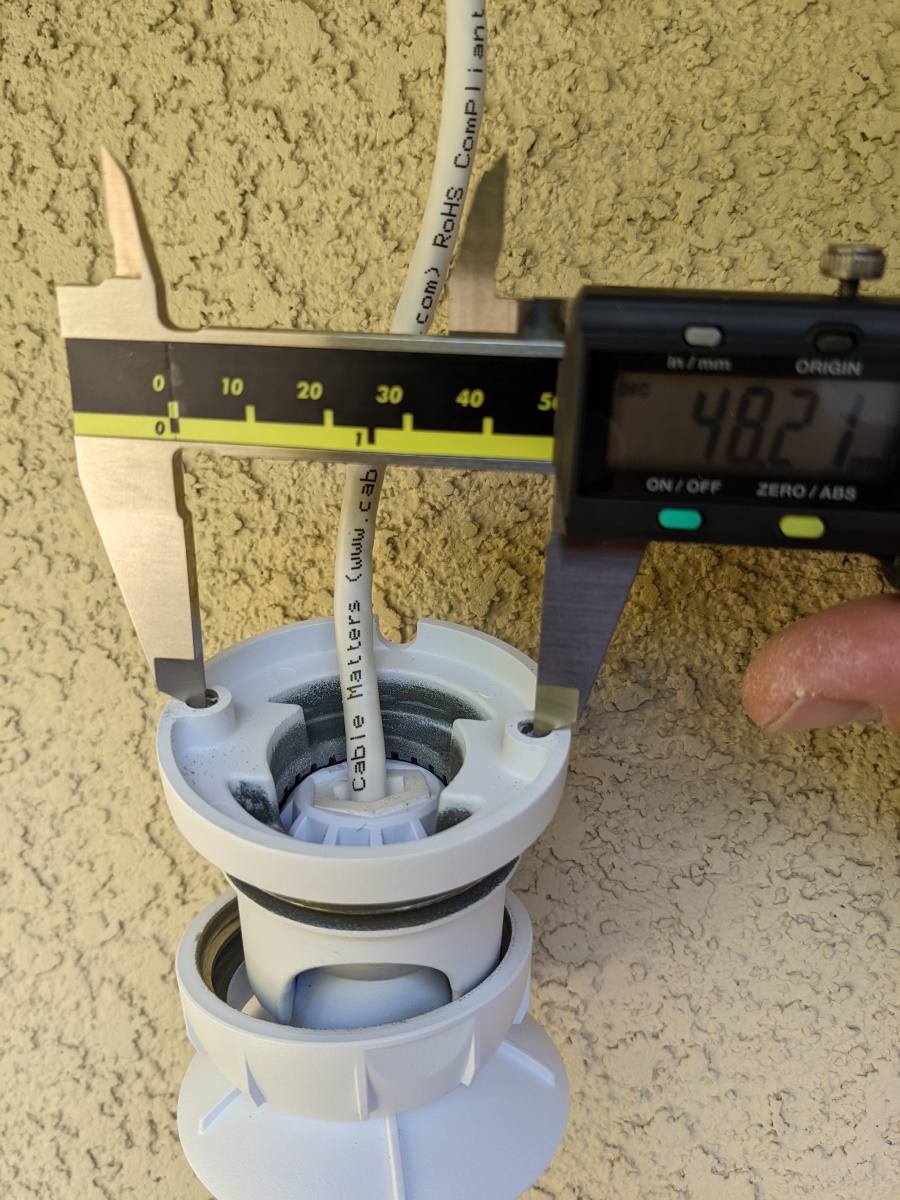
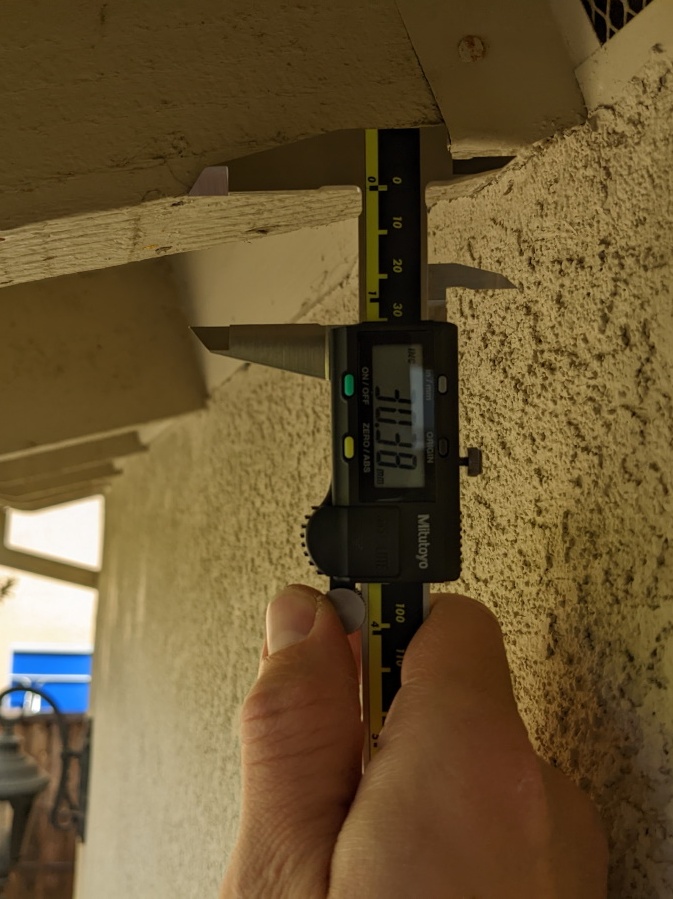
I took some rough measurements to figure out what the dimensions of the part would need to be.
I fired up Fusion 360 and a few youtube tutorial videos later I had come up what I had in mind:
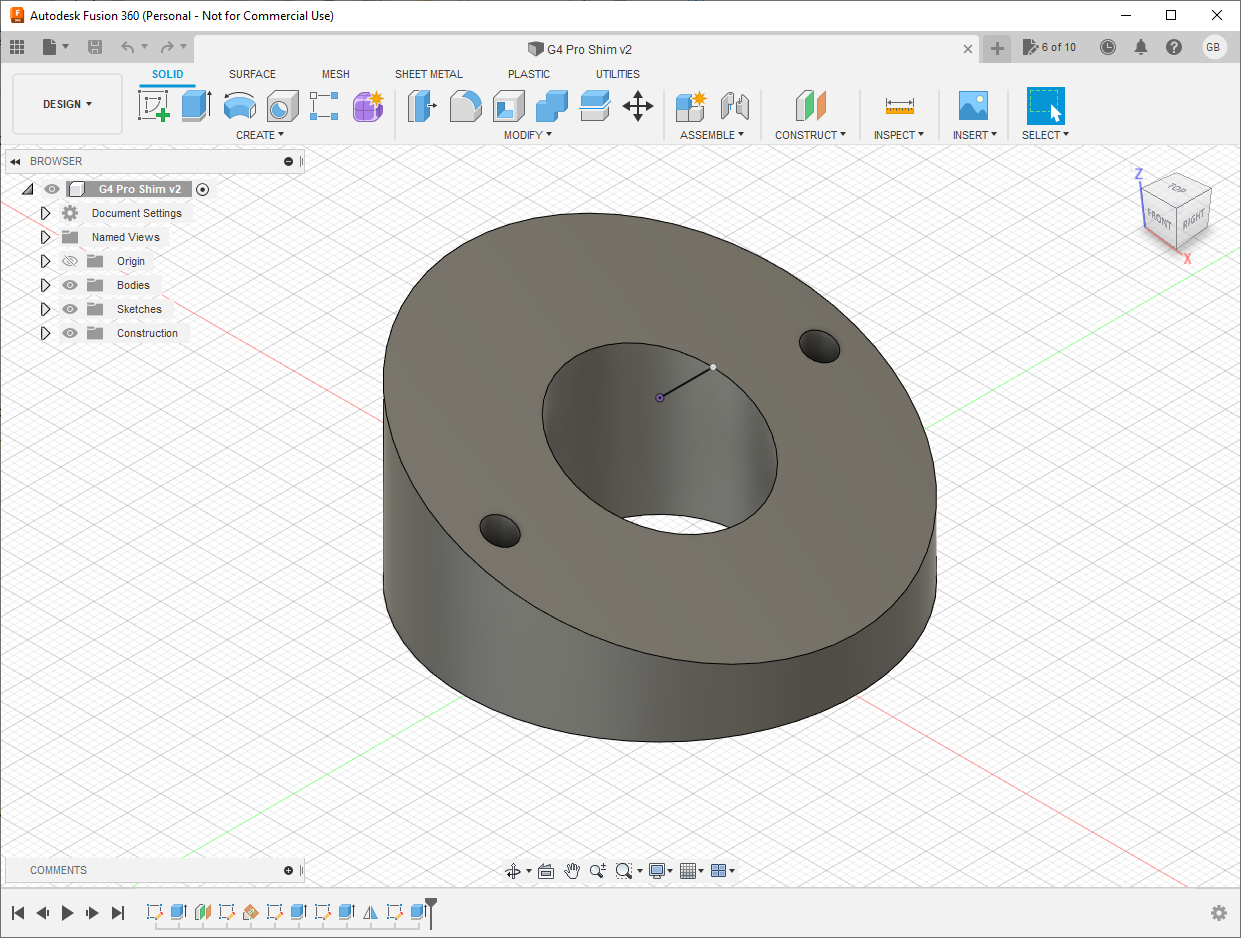 The hole in the center needed to be large enough to pass the ethernet connector through it.
I was wondering if there was a way to embed 3D models in a website while writing this, and it turns out there is!
In order to use the web based model-viewer I exported a .obj file from Fusion 360 and then used Blender to save it as a .glb file.
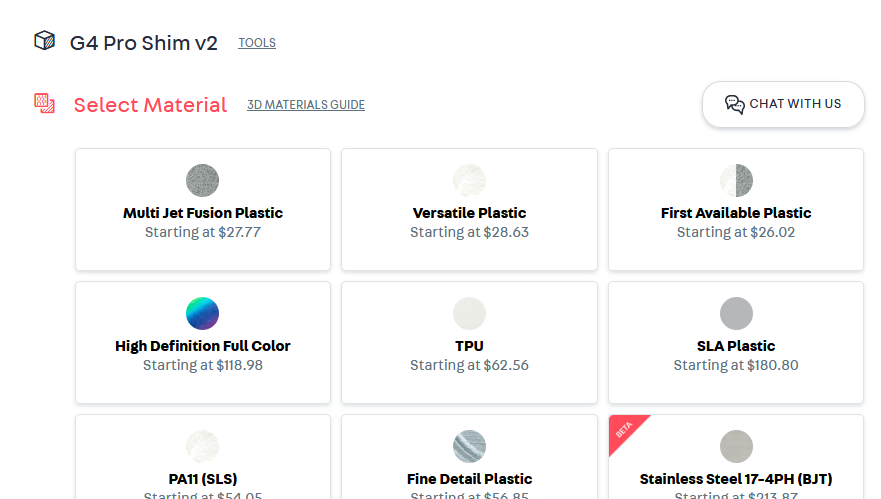
Next up was figuring out how to print it. I came across Shapeways when I was searching around, and they seemed to have a good reputation from a cursory look at reviews. Posts online mentioned they do quality work, but potentially at a higher cost than competitors. After uploading my g4_pro_shim.3mf file that I exported from Fusion 360, I read about the different materials available and decided Versatile Plastic (Nylon 12) sounded like a reasonable choice. It was also one of the cheapest options available.
The first price I saw after uploading the model was about $29:
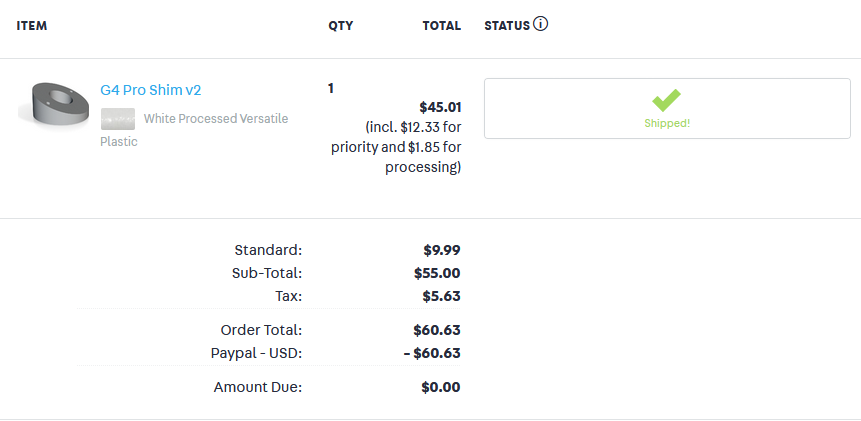
However, when going through the checkout, some additional costs are revealed. For an extra $12 I could cut the lead time by a substantial 11 days. There’s also a 6% processing fee added to cover the handling & fulfillment costs. The cheapest shipping option was $10 as well.
Now this $29 part turned into $60!
That was a lot more expensive than I would have guessed, but I figured why not splurge since this is my first time doing this. I’ll shop around for a more cost effective option for the next one.
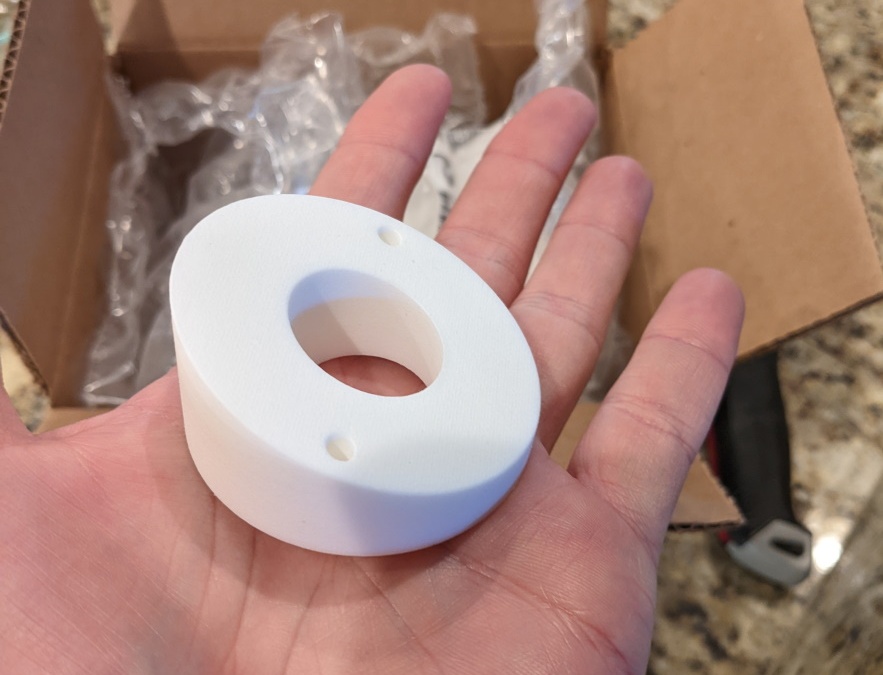
I submitted the order and got an email a day later saying it had been sent to the printers. Three days after that, the part was shipped. Another six days after that and the part had arrived:
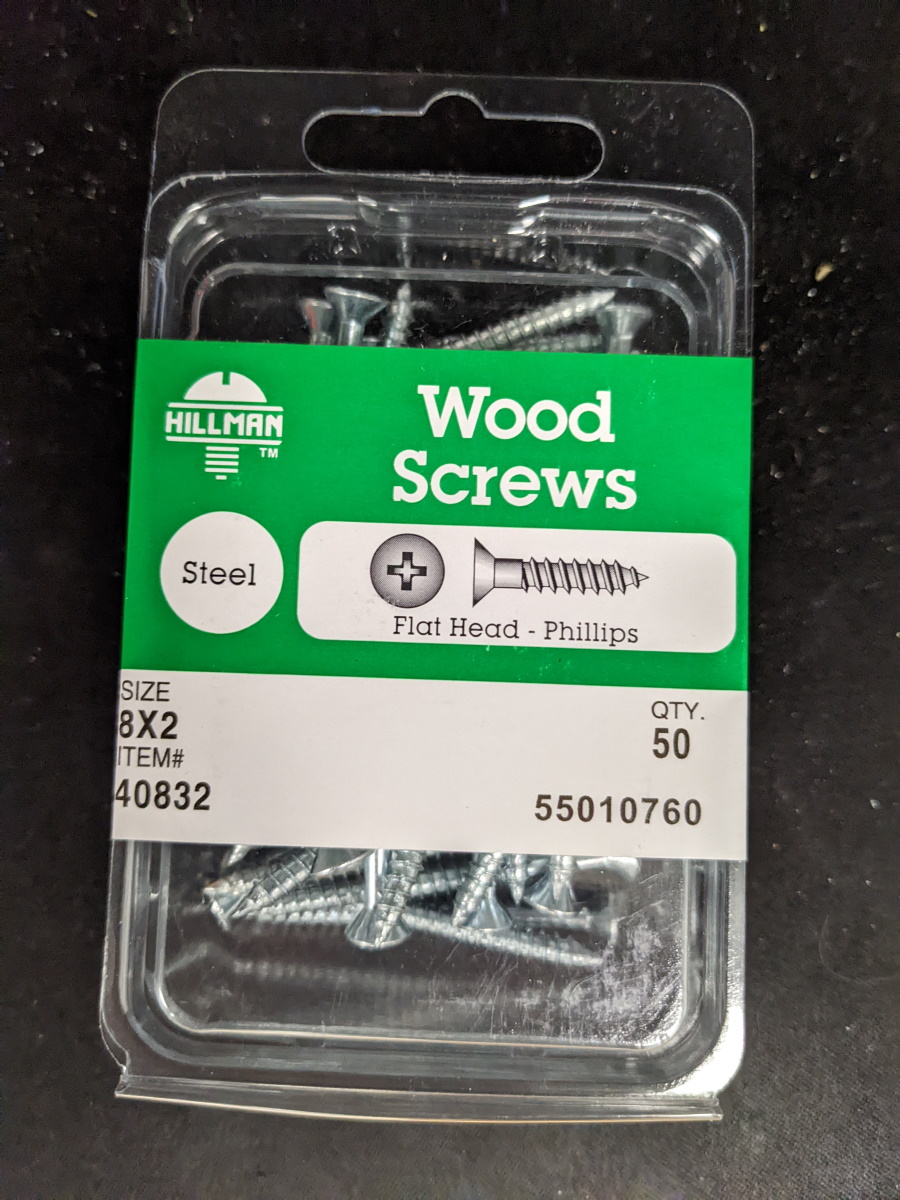
I realized I needed longer screws to accomodate the additional depth of the shim, so I ran to the hardware store to pick some up that matched the diameter of the original screws:
A few minutes later and the shim was installed! It fit perfectly and did exactly what I needed to do for the desired angle of the camera:
The model for this file can also be found on Thingiverse.
G4 Instant Stand
Another camera I had purchased to replace the Cloud Cams was the Unifi Protect G4 Instant.
It’s a great little camera but unless you mount it on a wall, the only option is to have it sitting flat, with no ability to adjust the angle.
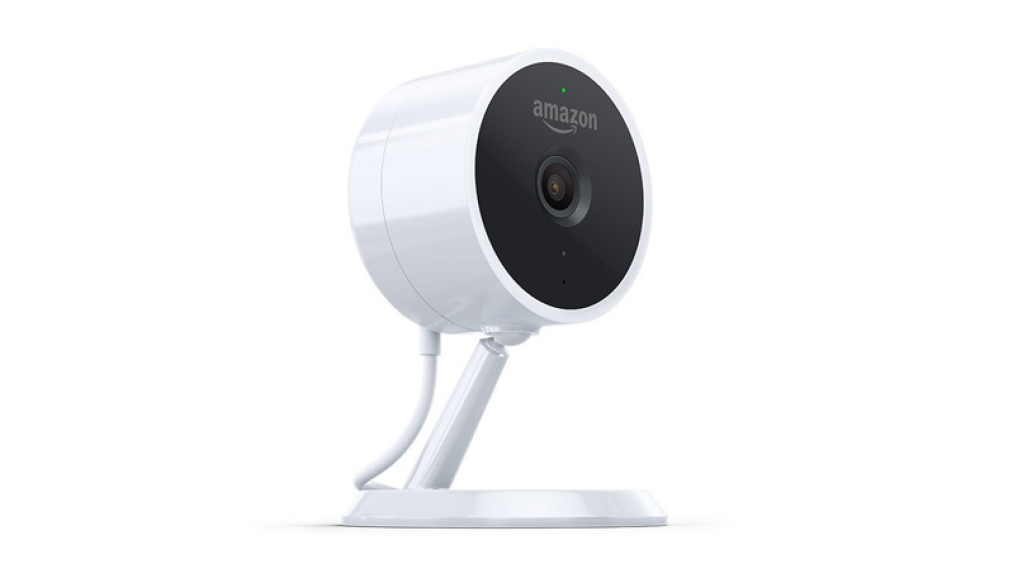
The Amazon Cloud Cam, despite its flaws, comes with a stand that allows for a wide range of motion when it’s sitting on a horizonal surface:
There were a couple additional mounting options people had created on thingiverse and etsy but none of the ones I came across were quite to my liking. Time to create another part!
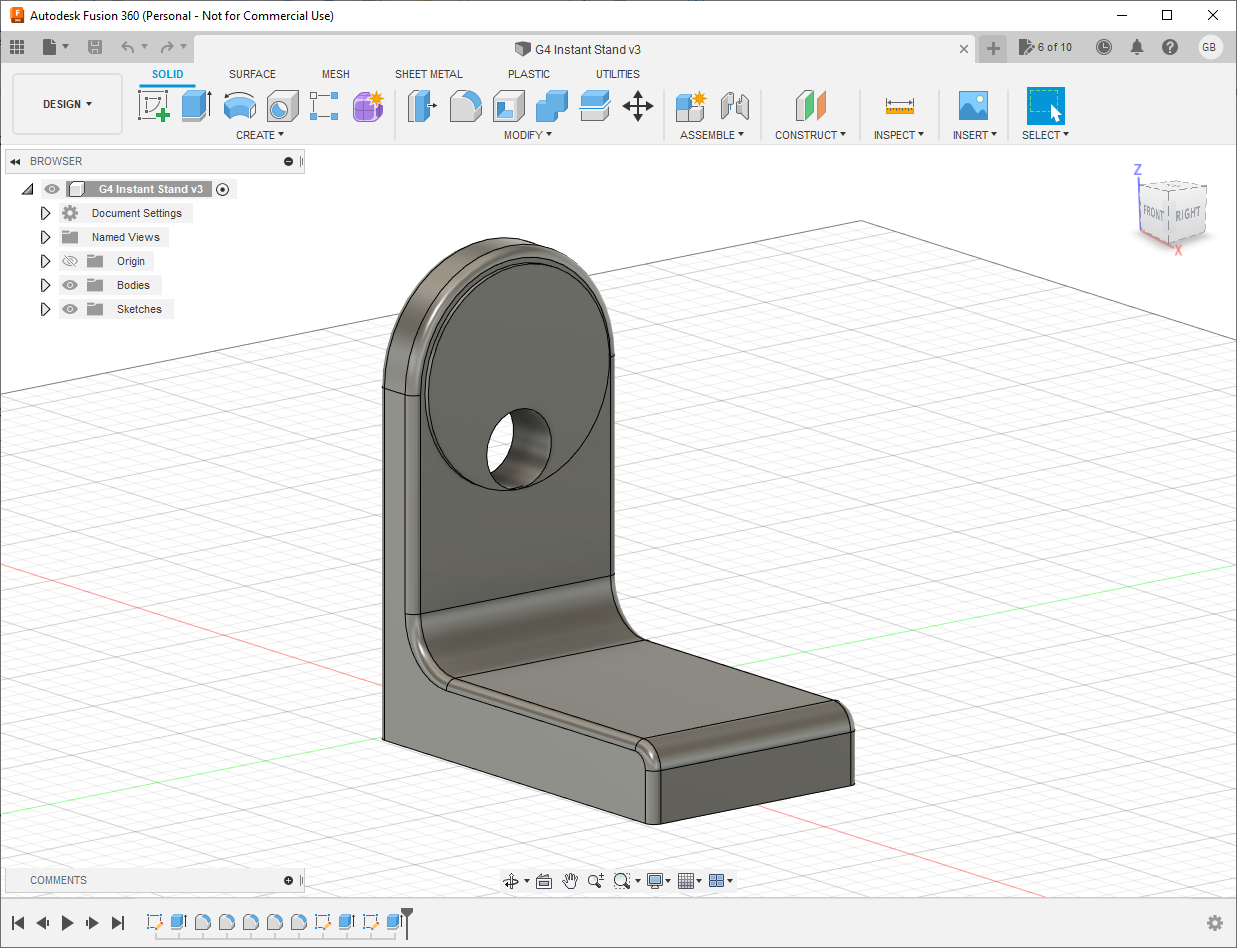
I wasn’t very happy with my first design:
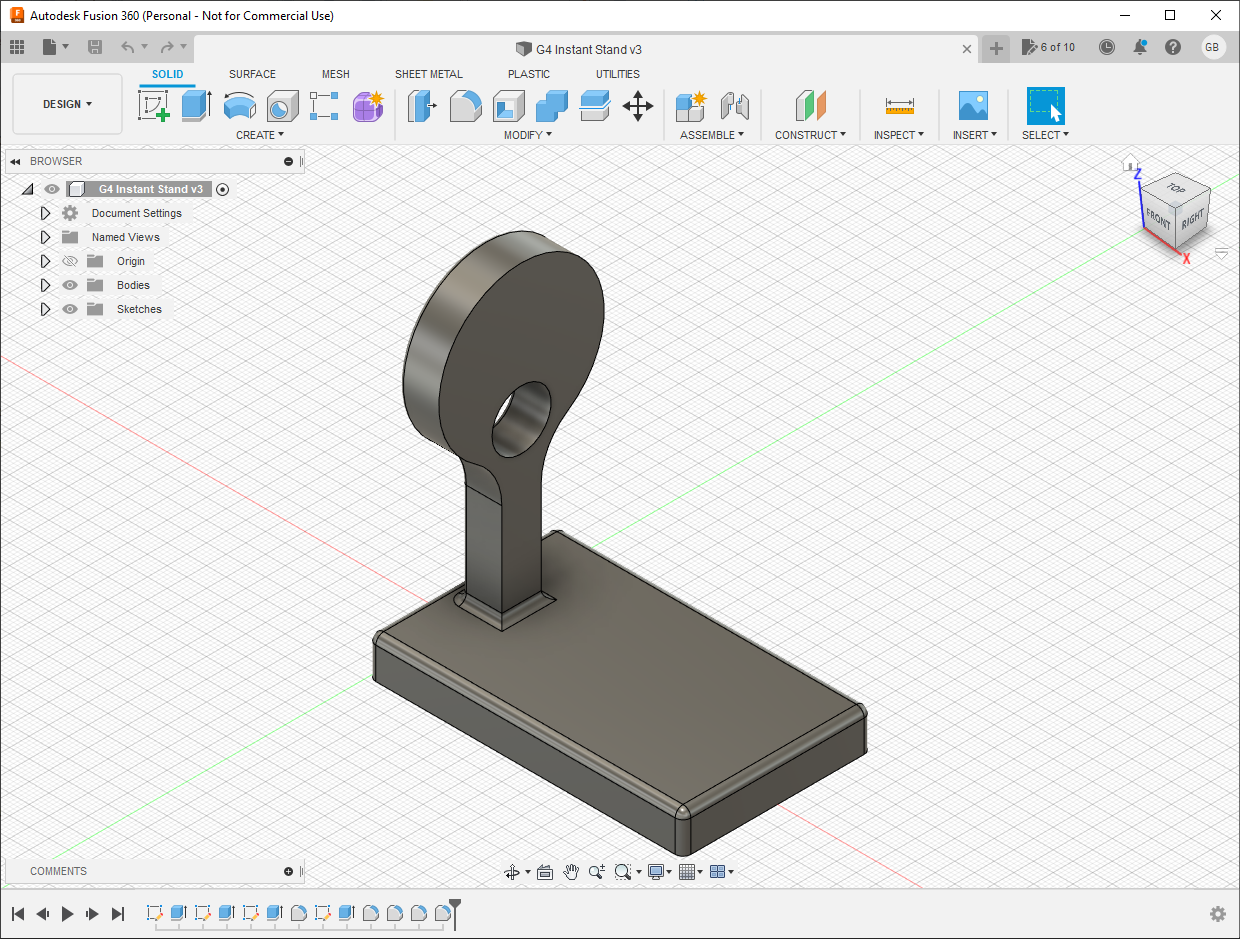
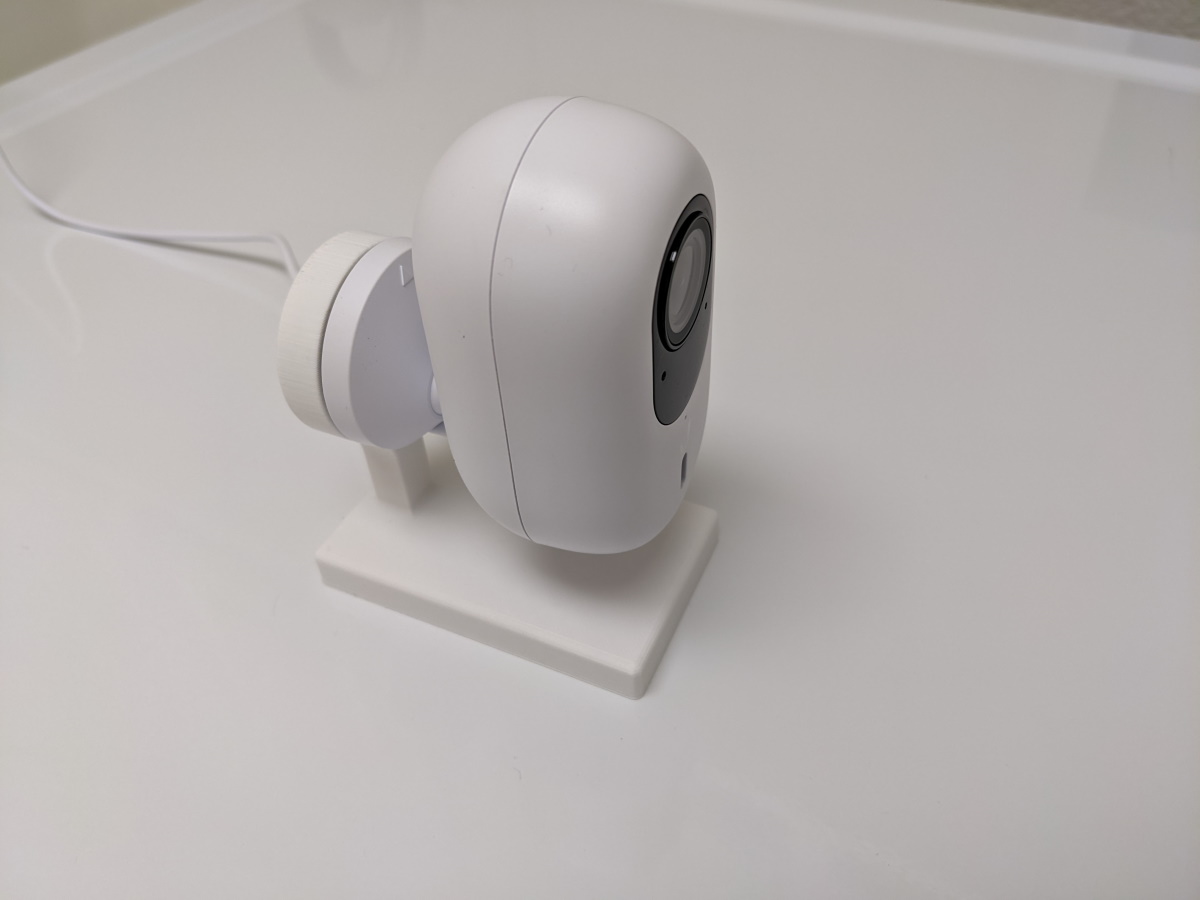
I liked the second design a lot better:
This time around I used Craftcloud to print the part since the quotes were much cheaper. The material I chose was PETG, which seemed to be a good low cost option:
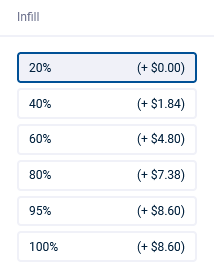
I also specified the infill to be 20% to save on material costs. It should still be able to hold the camera up, right?
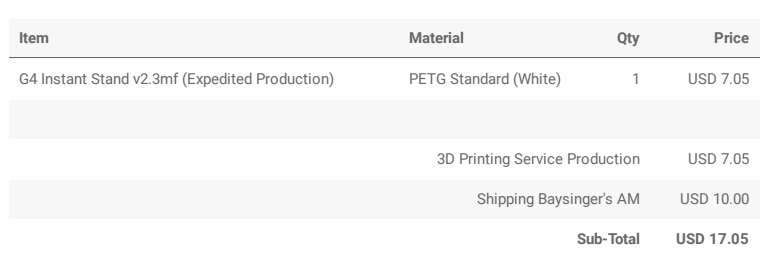
The final price was much better, even with the expedited processing:
Two days after placing the order, it went to the printer. Two days after that, the part was in the mail. Three days after it shipped, the part arrived!
Using the wall mount & adhesive strip included with the G4 Instant, I mounted it to the stand:
Things were looking pretty good!
Since the adhesive strip is exposed in the cutout for the cable, I wanted to cover the exposed sticky area to avoid collecting cat hair and dust, so I cut out a small circle to insert from the wax paper that came with it:
Ahh much better:
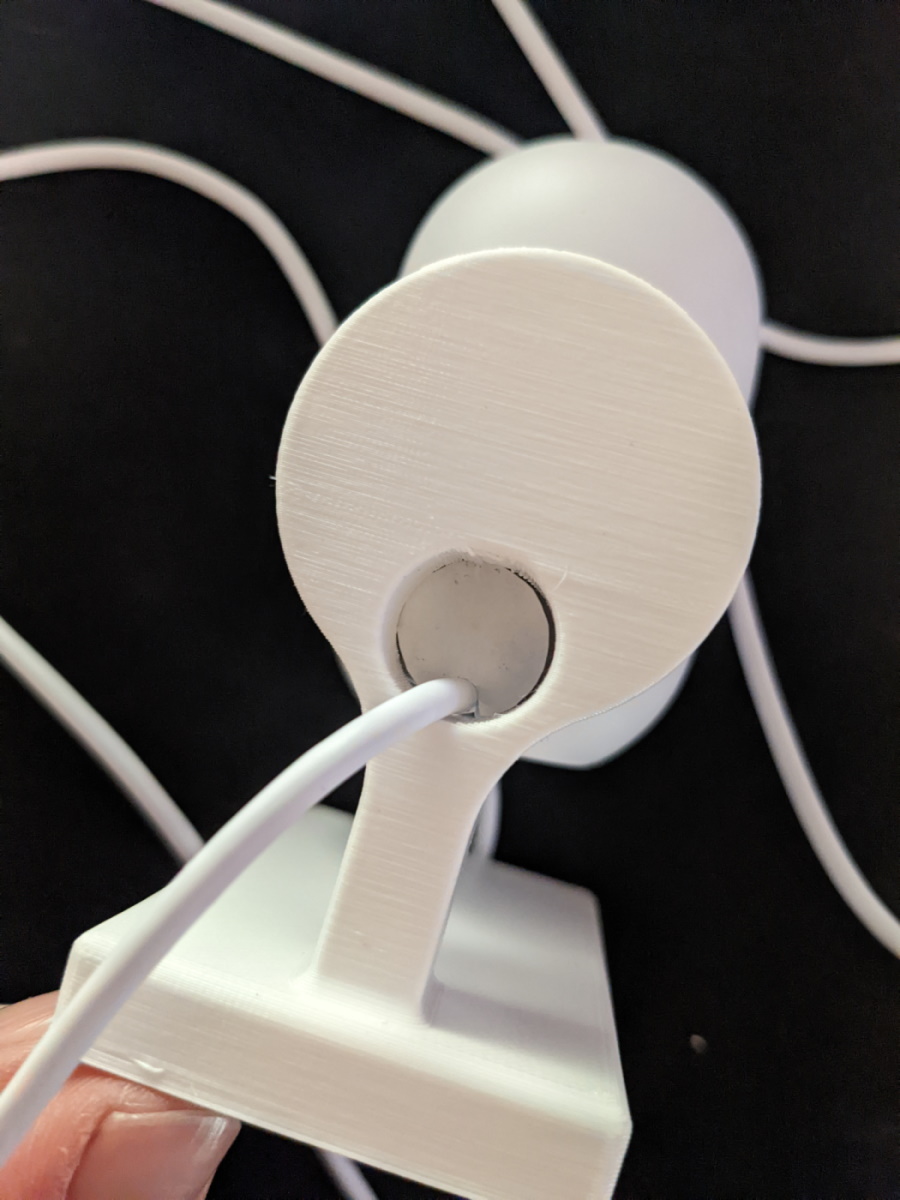 Next time around maybe I'll just cut away the excess adhesive pad.
Of course I had to check out the 20% infill by shining a light into it:
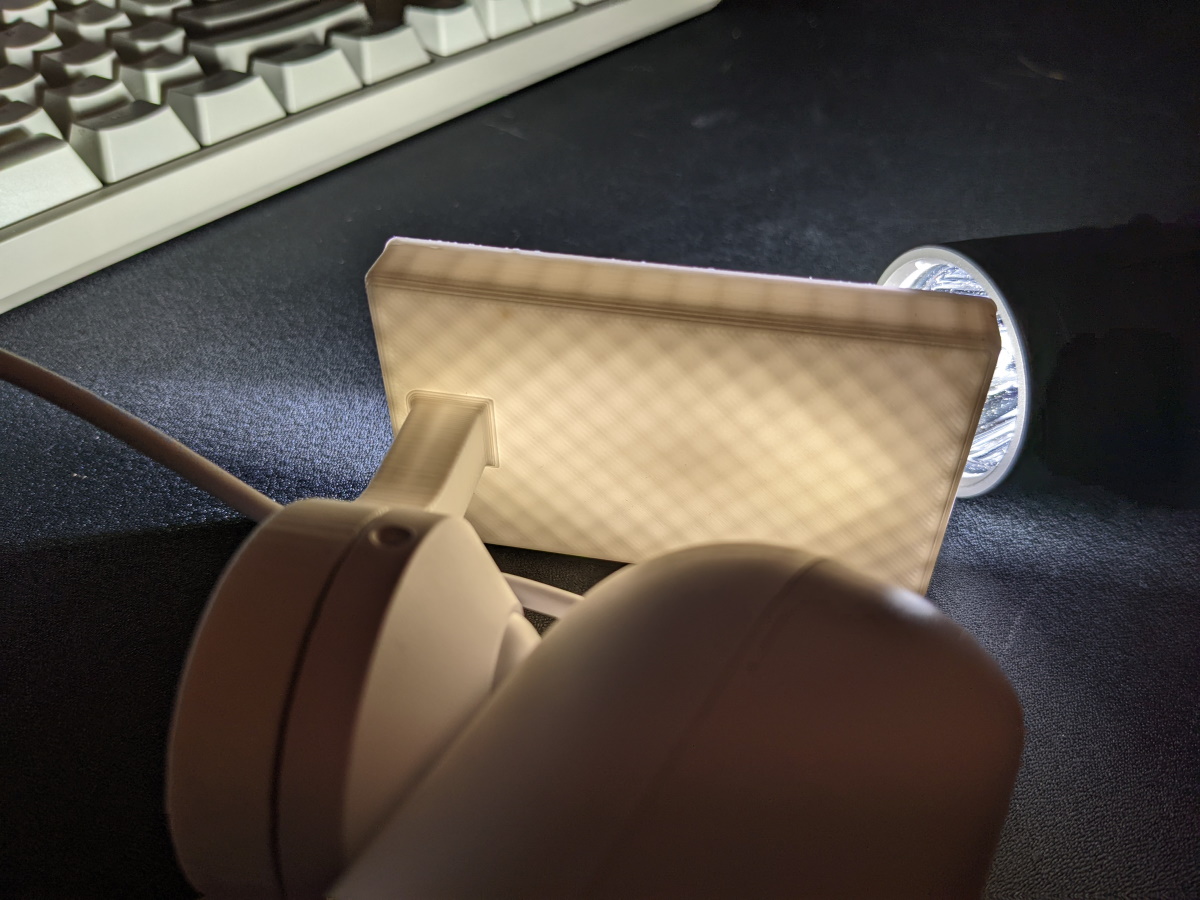 It's pretty convenient you don't have to design this into the model!
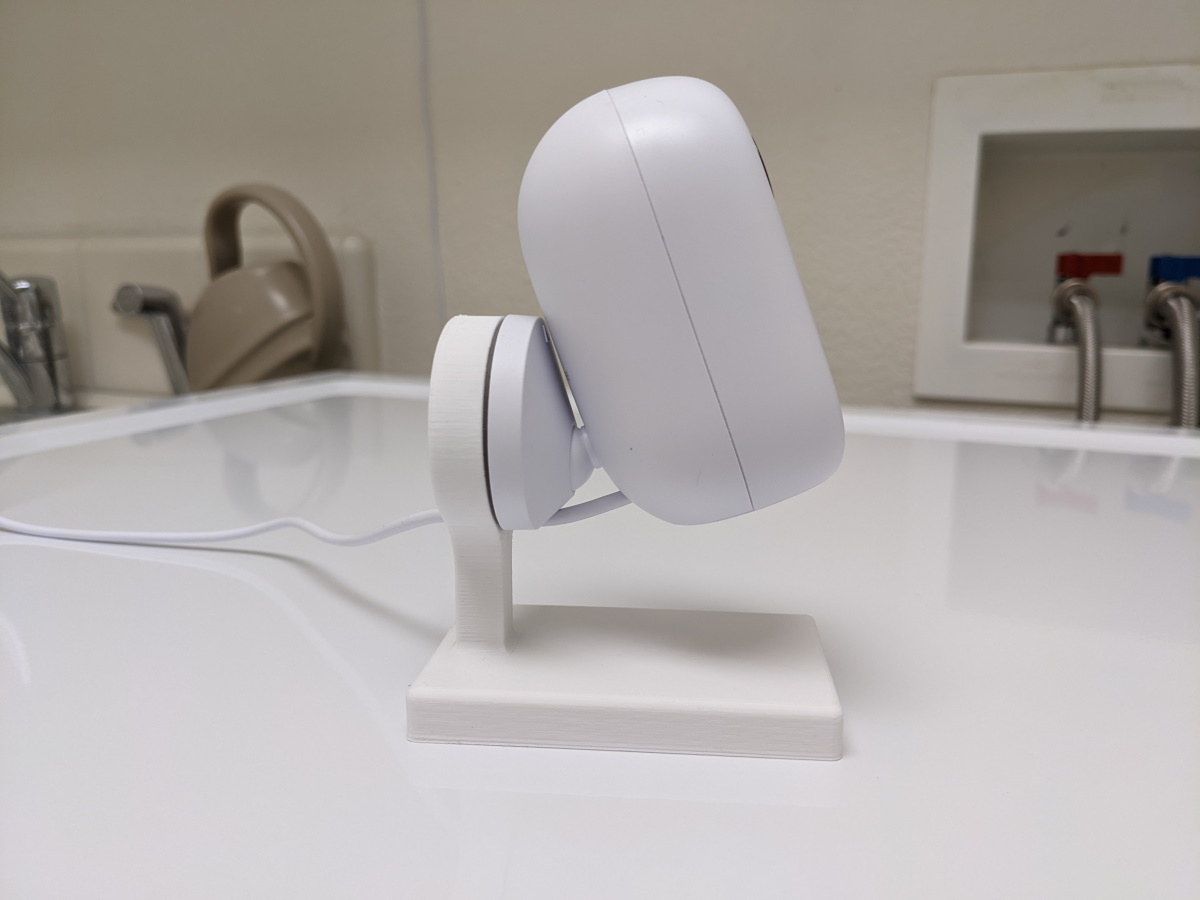
Unfortunately I ran into a small issue, the stand wasn’t quite tall enough to allow the full range of motion when pointing down. Must have been a little bit off in my rough measurements…
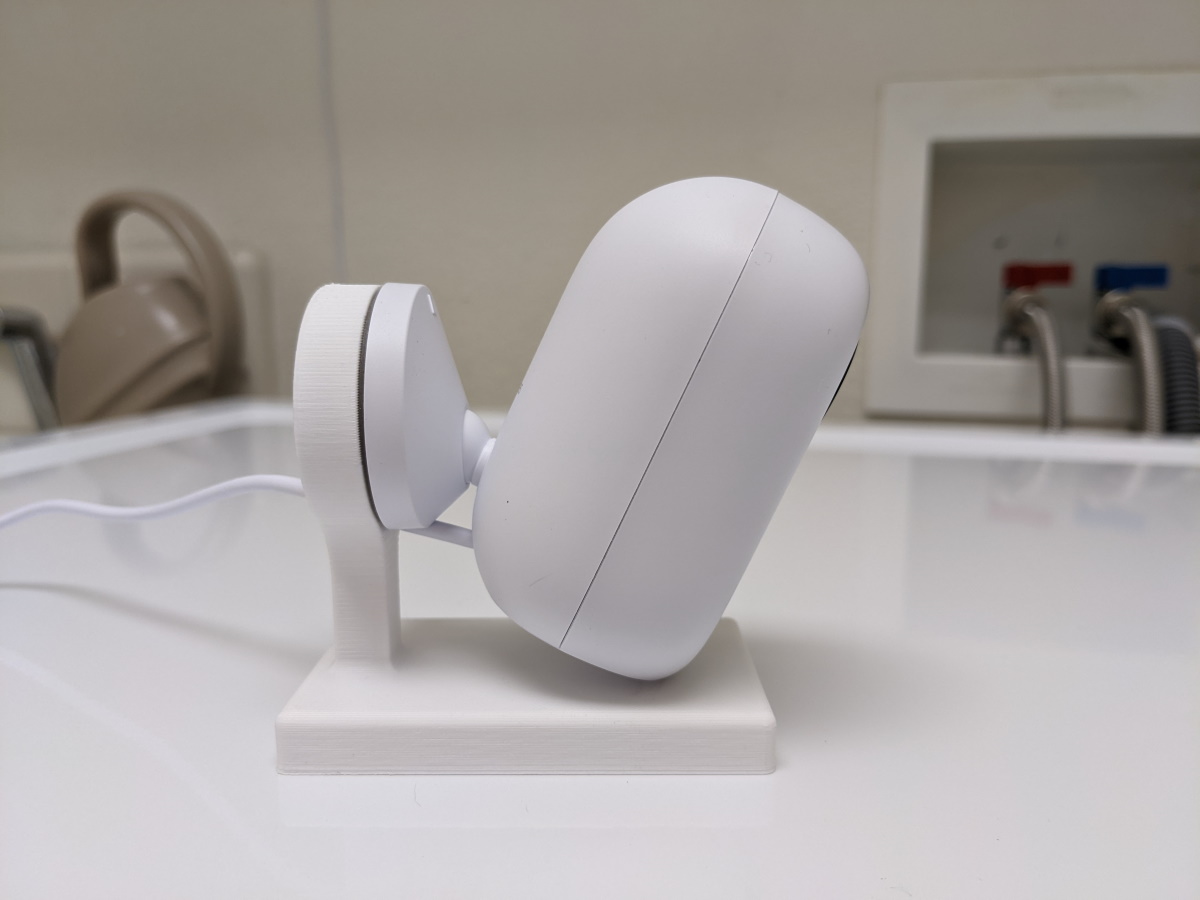 Couldn't quite point all the way down, it's very close though!
I updated the part to add 10mm of height.
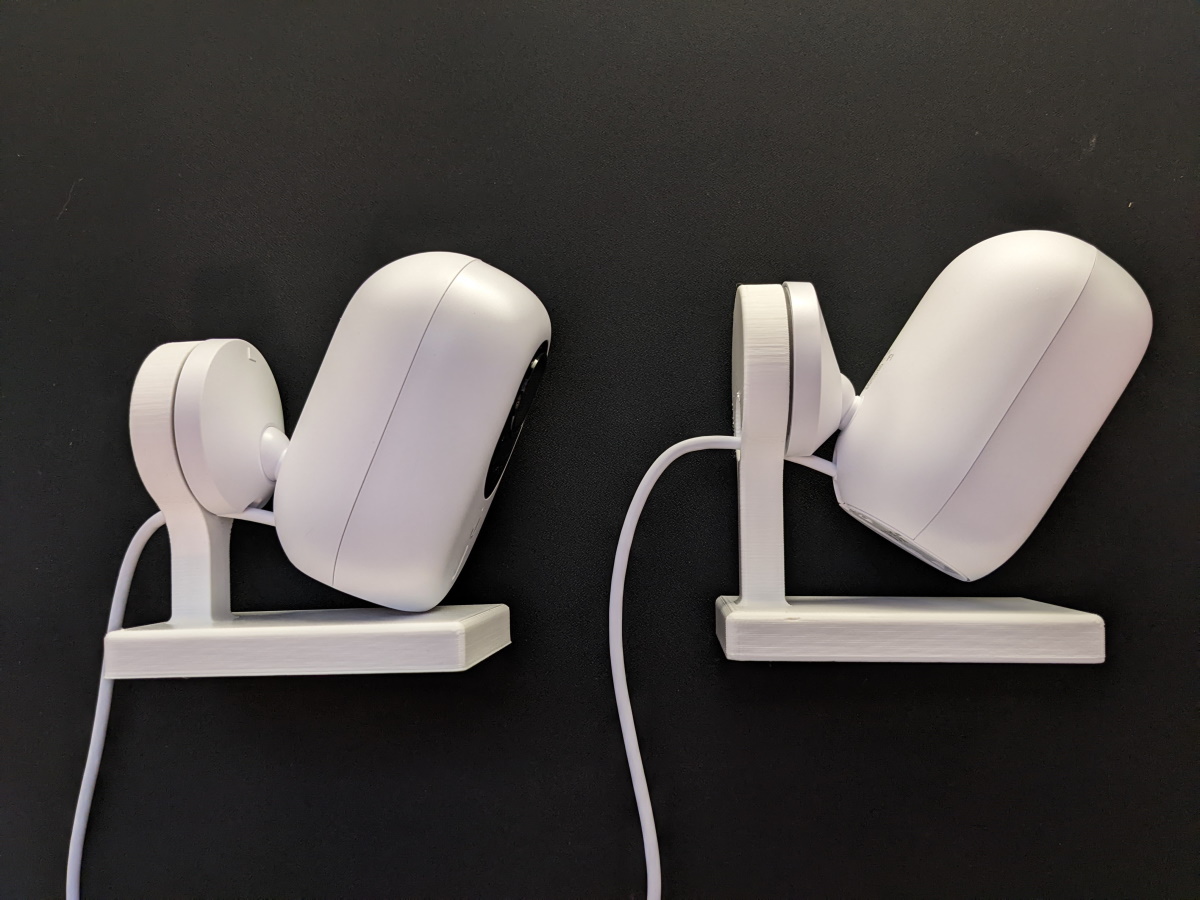 The additional height allows the camera to point down just a little bit further.
Here’s the link to download it: g4_instant_stand_v2.1.3mf
You can also find it on Thingiverse.
This was a fun project to design a part and for the first time have it 3D printed. I learned a bit about the process and solved all the issues I was having getting the cameras to point at the right angle. I’m already looking forward to my next excuse to 3D print something in the future. It’s so cool being able to design a custom part and have it show up on your doorstep a week later!
